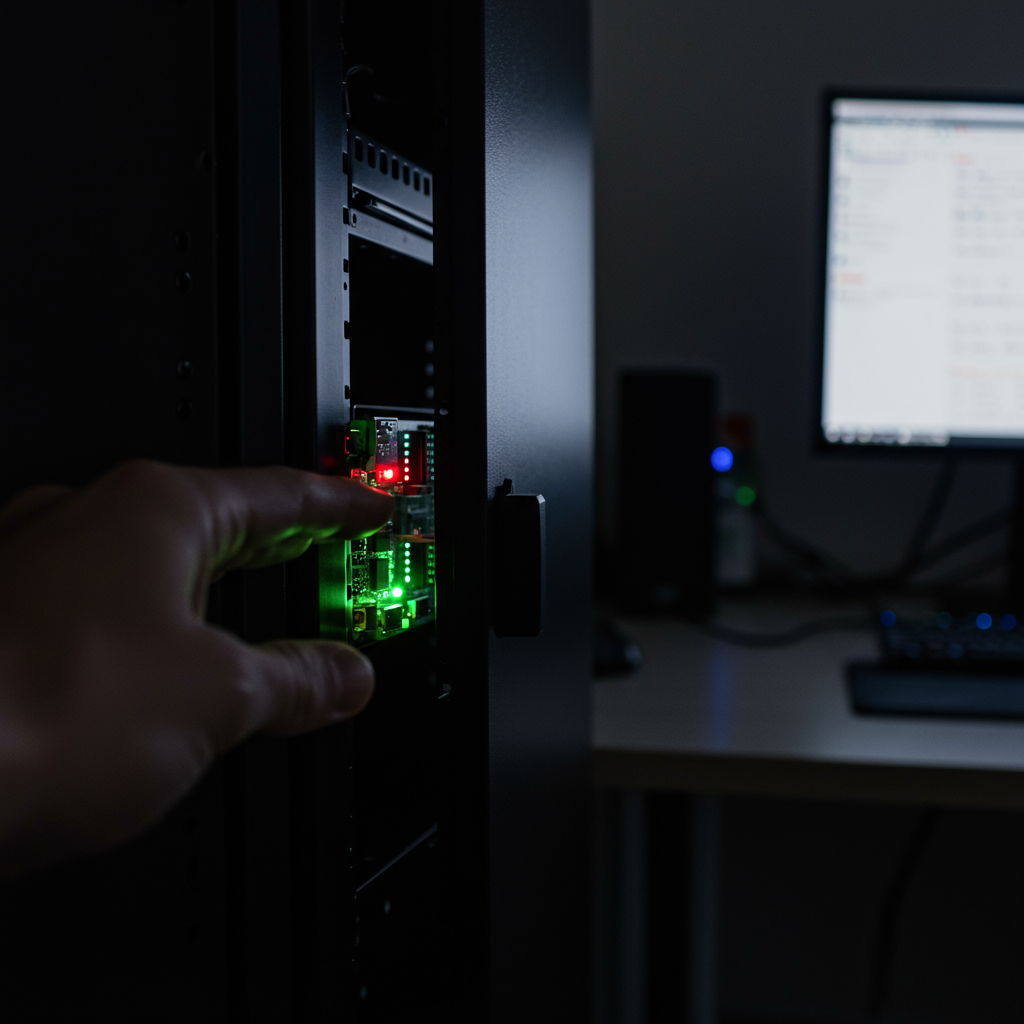
Managing a Raspberry Pi tucked away in a server rack can be tricky. Directly connecting a monitor and keyboard isn’t always practical, especially if your server rack is in a less-than-convenient location. But there’s a better way: setting up a graphical user interface (GUI) you can access remotely.
Why a Remote GUI?
Imagine this: You’re working on a project, but your Pi is in the basement or a closet. Instead of physically going to the rack, you can simply open a window on your laptop and control it from anywhere in your house (or even further away with a VPN!). This makes troubleshooting, configuration, and general use much easier. This is where a remote GUI comes in handy.
Choosing the Right Approach
Several methods allow you to access a Raspberry Pi’s GUI remotely. One popular option is using Virtual Network Computing (VNC). VNC creates a virtual desktop of your Pi on another device. This lets you interact with the Pi’s GUI as if you were sitting right in front of it.
Another option is using Remote Desktop Protocol (RDP), which is particularly useful if you’re accessing the Pi from a Windows machine. RDP is known for being fairly fast and reliable.
Finally, for a more lightweight approach, consider using X11 forwarding through SSH. This method forwards the Pi’s graphical applications to your local X server. This can be a great option if you only need to access certain applications and not the entire desktop.
Setting up VNC on Your Raspberry Pi
Let’s take a closer look at setting up VNC, one of the more user-friendly options. First, make sure you have a VNC server installed on your Raspberry Pi. TightVNC is a popular choice. You can usually install it through your Pi’s package manager using a command like sudo apt-get install tightvncserver.
After installation, you’ll need to configure and start the VNC server. This typically involves setting a password and choosing a display number. Then, on your client machine (your laptop, for example), you’ll need a VNC viewer. RealVNC is a widely used and compatible option. Enter your Pi’s IP address and the chosen display number, and you should be able to connect and see your Pi’s desktop.
Securing Your Connection
It’s crucial to secure your remote connection, especially if you’re accessing your Pi from outside your home network. A virtual private network (VPN) is highly recommended. A VPN creates an encrypted tunnel, protecting your data from prying eyes.
Benefits of a Remote GUI
- Convenience: Manage your Pi from anywhere.
- Flexibility: Access your Pi even when it’s tucked away in a rack.
- Improved Workflow: Easier troubleshooting and configuration.
Setting up a remote GUI for your Raspberry Pi in a server rack is a straightforward process that significantly enhances your home lab experience. By choosing the right method and securing your connection, you can easily manage your Pi from anywhere, making your projects and experiments much more efficient.