Boosting Your ThinkCentre Tiny: A Guide to NVMe SSD Upgrades
The ThinkCentre Tiny is a powerhouse of a mini PC, but its storage can sometimes feel a bit limiting. Upgrading to an NVMe SSD is a fantastic way to breathe new life into your Tiny, dramatically improving boot times, application loading, and overall system responsiveness. But with so many options out there, how do you choose the right NVMe SSD and navigate the upgrade process?
Why Choose an NVMe SSD?
NVMe SSDs (Non-Volatile Memory Express) offer a significant performance boost over traditional SATA SSDs and hard drives. They utilize the PCI Express bus, providing much faster data transfer speeds. This translates to a snappier computing experience, making everything from booting up to multitasking feel noticeably quicker.
Selecting the Right NVMe SSD for Your ThinkCentre Tiny
Before you rush out and buy the first NVMe SSD you see, it’s essential to ensure compatibility with your specific ThinkCentre Tiny model. Refer to your Tiny’s documentation or Lenovo’s website to determine the supported NVMe SSD form factor (usually M.2 2242 or 2280) and any other specific requirements.
When choosing an NVMe SSD, consider the following factors:
- Capacity: Determine how much storage space you need. NVMe SSDs come in various capacities, from 256GB to several terabytes.
- Performance: Look at read and write speeds. While most NVMe drives are faster than SATA, there are still performance differences between various models.
- Endurance (TBW): This rating indicates how much data can be written to the drive before it might start to wear out. Higher TBW ratings generally mean a longer lifespan.
- Price: NVMe SSD prices have come down significantly, but there are still budget-friendly and high-end options. Choose one that fits your needs and budget.
Regarding Samsung SM NVMe SSDs specifically, they are generally a solid choice known for good performance and reliability. However, like any component, they can generate heat, particularly under heavy sustained loads. Ensure adequate cooling within your ThinkCentre Tiny case, especially if you’re opting for a high-performance model.
Used vs. New NVMe SSDs
Buying a used NVMe SSD can save you money, but it comes with some risks. The drive’s remaining lifespan and potential prior wear and tear are unknown factors. If you’re considering a used drive, thoroughly research the seller’s reputation and look for drives with a clear usage history.
Installing the NVMe SSD
Once you have your chosen NVMe SSD, the installation process is relatively straightforward for most ThinkCentre Tiny models.
- Power Down: Completely shut down your Tiny and unplug it from the power source.
- Access the M.2 Slot: Refer to your ThinkCentre Tiny’s user manual for the precise location and method to access the M.2 slot. It usually involves removing a few screws and a panel.
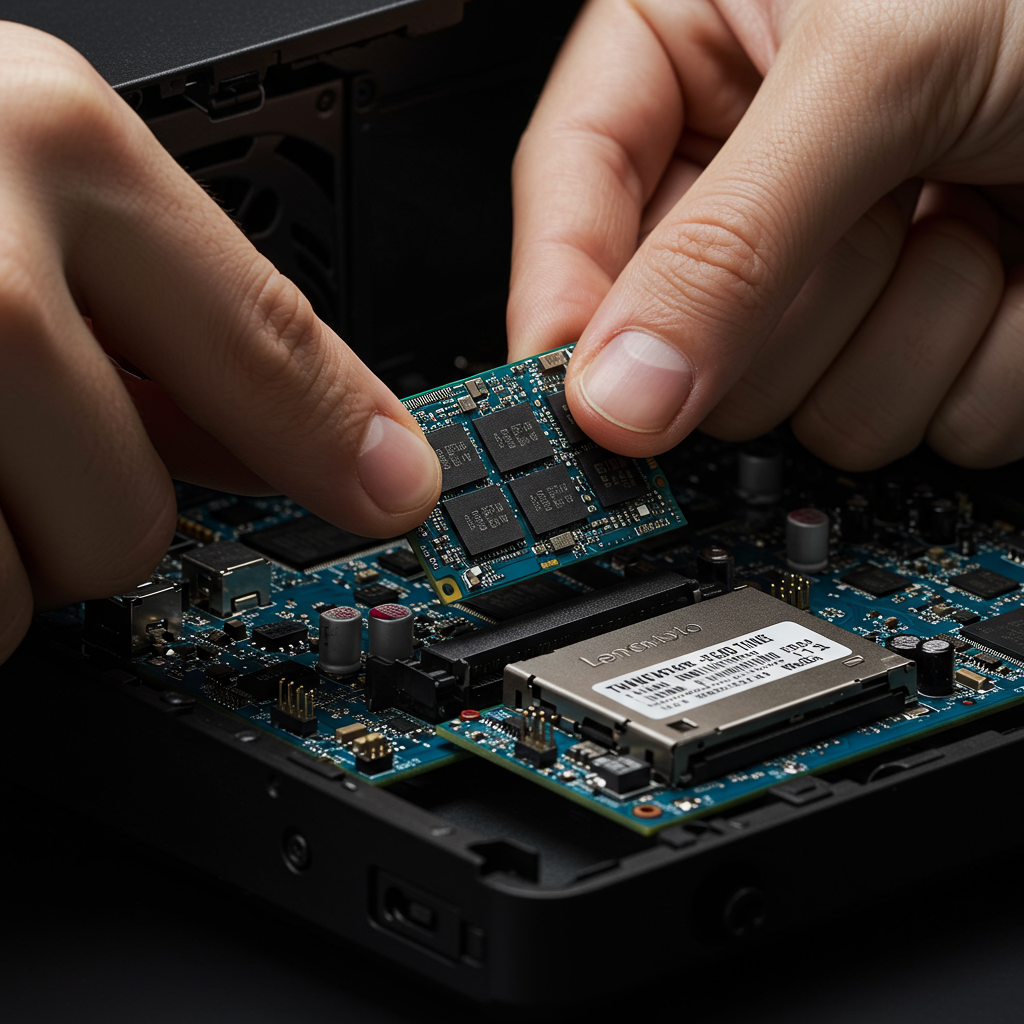
- Install the NVMe SSD: Carefully insert the NVMe SSD into the M.2 slot at the correct angle. Secure it with the provided screw.
- Reassemble: Put everything back together in reverse order.
- Install the Operating System: You’ll need to install your operating system onto the new NVMe SSD. You can either do a fresh install or clone your existing drive.
Thermal Considerations
As mentioned earlier, NVMe SSDs can generate heat. If you notice your ThinkCentre Tiny getting unusually warm after the upgrade, consider improving the airflow inside the case. This might involve adding a small fan or ensuring the existing vents are not obstructed.
Conclusion
Upgrading your ThinkCentre Tiny with an NVMe SSD is a worthwhile investment that significantly enhances performance and overall user experience. By carefully considering the factors mentioned above and following the installation steps, you can enjoy a faster, more responsive system for years to come.
Remember to always consult your ThinkCentre Tiny’s documentation for specific instructions and compatibility information.


