Supercharging Your Homelab: Migrating to a Silent, Efficient Raspberry Pi 5 CloudStack Cluster
Imagine a homelab that’s not only powerful but also whisper-quiet and energy-efficient. This isn’t a fantasy, but a reality achievable with the latest Raspberry Pi 5 and Apache CloudStack. This post explores migrating from a traditional x86_64 setup to a cluster of Raspberry Pi 5s, leveraging CloudStack’s multi-architecture support for a robust and flexible home cloud.
Why Raspberry Pi 5 for Your Homelab?
While x86_64 servers have long been the standard for homelabs, the Raspberry Pi 5 presents a compelling alternative. Its combination of affordability, low power consumption, and surprising performance makes it an ideal candidate for a variety of workloads. Plus, with the rise of ARM architecture, gaining experience with aarch64 is increasingly valuable.
The Power of Apache CloudStack’s Multi-Architecture Support
Apache CloudStack’s multi-architecture support is the key to unlocking the potential of the Raspberry Pi 5 in a cloud environment. With version 4.20 and later, you can seamlessly manage both x86_64 and aarch64 KVM hosts within the same CloudStack deployment. This allows for a gradual migration, mixing and matching hardware as needed.
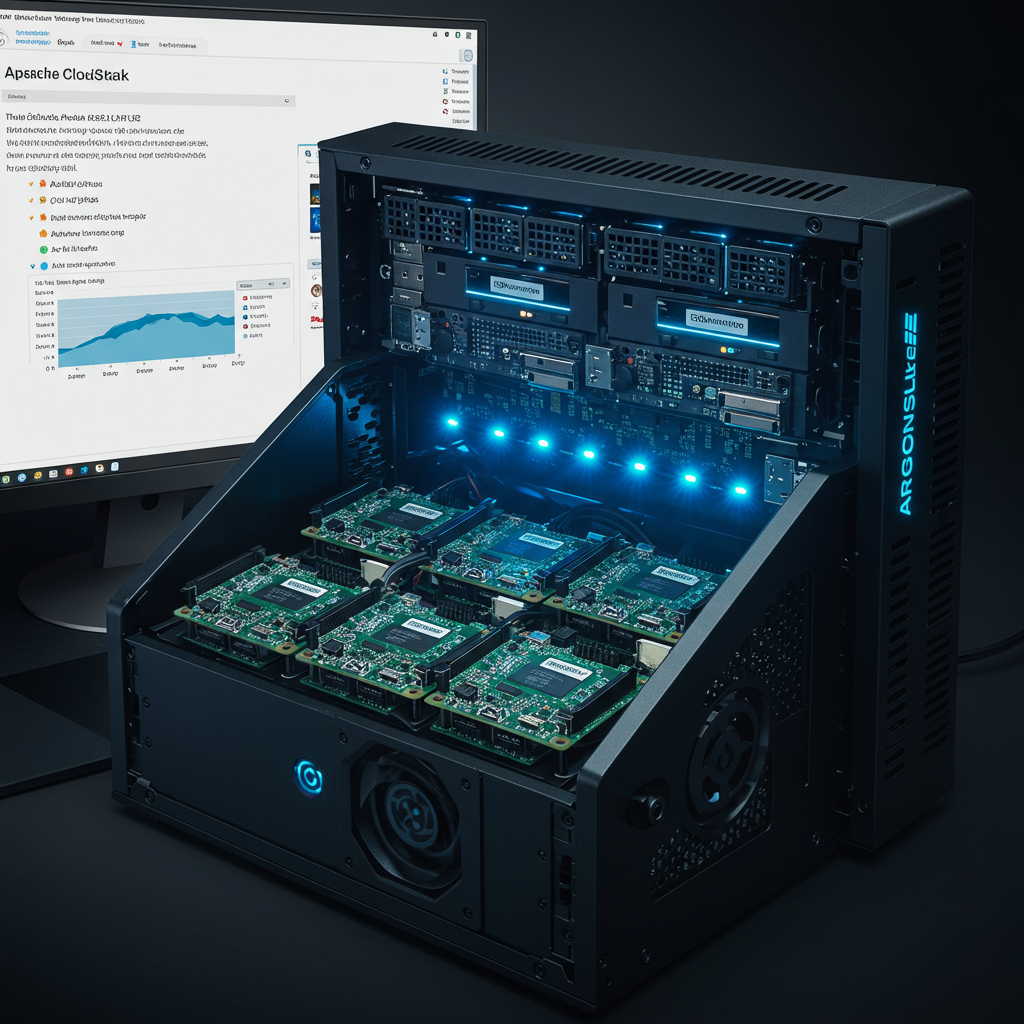
Building Your Raspberry Pi 5 CloudStack Cluster
Hardware Considerations:
- Raspberry Pi 5: Opt for the 16GB model for optimal performance, especially if you plan to run virtual machines and Kubernetes clusters.
- Storage: A fast NVMe SSD is highly recommended. The Samsung 980 PRO, or similar high-performance drives, provide excellent speeds for VMs and other data-intensive tasks.
- Cooling: A good case with active cooling, like the Argon Neo M.2 case, will ensure the Pi 5s stay cool under load.
- Power Supply: A reliable power supply is crucial. Make sure it can provide enough power for all your Pi 5s and their peripherals.
Software Setup:
- Install a suitable operating system: A lightweight Linux distribution like Ubuntu Server is a good choice.
- Install KVM and related packages: Follow the instructions specific to your chosen distribution.
- Set up Apache CloudStack: Detailed installation instructions are available on the official Apache CloudStack website. Ensure you have the correct version (4.20 or later) to support multi-architecture zones.
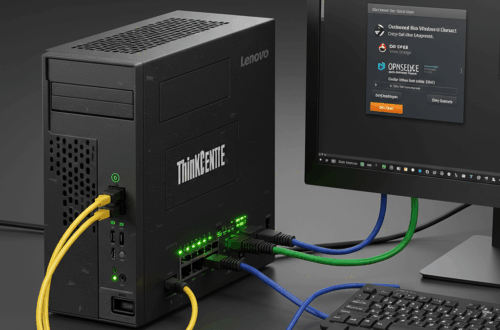
- Configure Networking: Set up static IP addresses for your CloudStack management server and KVM hosts.
- Add the Raspberry Pi 5 hosts to CloudStack: Within the CloudStack UI, add your Pi 5s as a new aarch64 zone.
Unlocking the Potential: Workloads and Use Cases
With your Raspberry Pi 5 CloudStack cluster up and running, the possibilities are vast. Here are some potential use cases:
- Running aarch64 VMs: Experiment with various ARM-based operating systems and applications.
- Hosting Kubernetes Clusters (CKS): Deploy and manage containerized applications with ease.
- Network Services: Utilize the Pi 5s as WireGuard VPN servers or network storage using NFS and Samba.
- Database Hosting: Run lightweight databases like MySQL.
- Storage Solutions: Implement Ceph for distributed storage, either using USB NVMe drives or within a VM.
Beyond the Basics: Advanced Features
CloudStack offers a range of advanced features that can further enhance your homelab experience:
- Live Instance Migration: Move running VMs between hosts without downtime.
- VM Snapshots and Backups: Protect your data with point-in-time snapshots and regular backups.
- NoVNC Console Access: Remotely manage your VMs from anywhere.
- Cluster DRS: Automatically balance workloads across your cluster.
Conclusion
Building a Raspberry Pi 5 CloudStack cluster might sound complex, but it’s a rewarding project that provides valuable hands-on experience with cloud technologies and ARM architecture. The combination of affordability, low power consumption, and the flexibility of CloudStack makes this an ideal setup for any homelab enthusiast. While there might be a learning curve, the benefits of a silent, efficient, and powerful homelab are well worth the effort.